
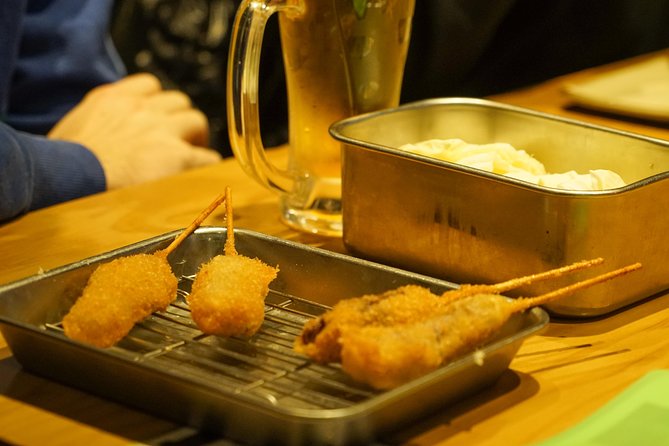
Eat first. Ask later.
Takoyaki off the griddle in Dotonbori, kushikatsu under Tsutenkaku, the last train home from Namba. What each tour is really like, what it costs, and where to book it.
What Osaka is actually booked for.
Griddle seats on Dotonbori, the castle tower before the coach parties, a kendo hall in Chuo, and the bullet train that puts Hiroshima back home in time for dinner.
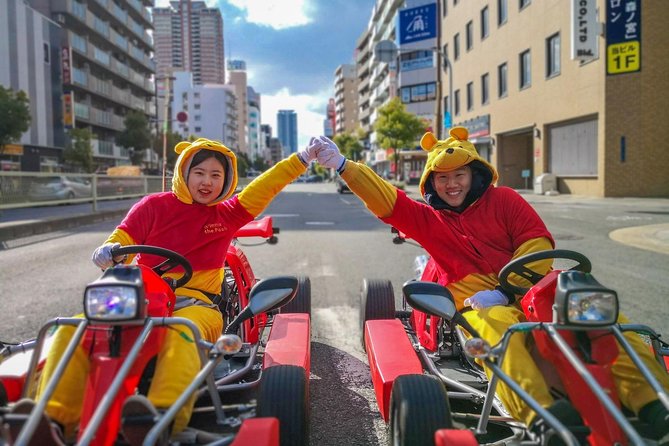
Osaka Go Karting Tour with Funny Costume
Dress in a funny costume, drive a Go Kart through Namba and Dotonbori, and get photo moments, with rentals, fuel, and insurance included.
From $46 per person
Read the review →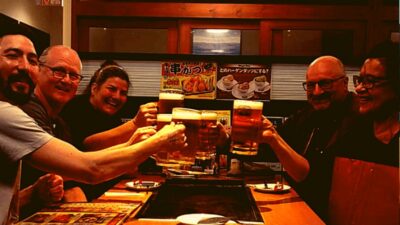 ★ 4.8Sells out weeklyOsaka: Shinsekai Food Tour with 13-15 Dishes at 5 EateriesFrom $532,204 reviews
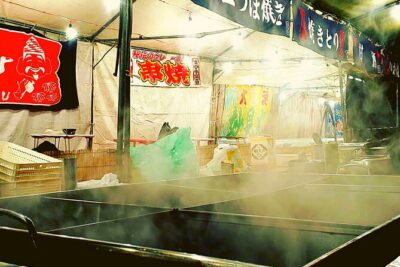 ★ 5.0Where Osaka sends visitorsOsaka Food Tour: 13 Dishes at 5 Local EateriesFrom $732,149 reviews
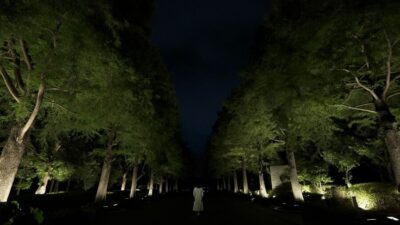 ★ 4.5Fine when it rainsOsaka: teamLab Botanical Garden Entry TicketFrom $111,710 reviews
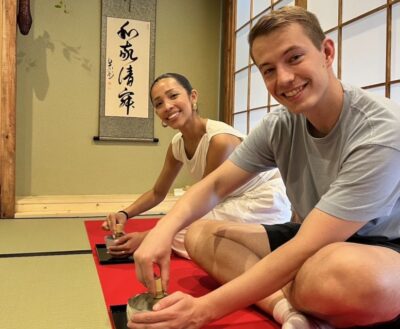 ★ 4.9First trip pickOsaka: Tea Ceremony ExperienceFrom $251,426 reviews
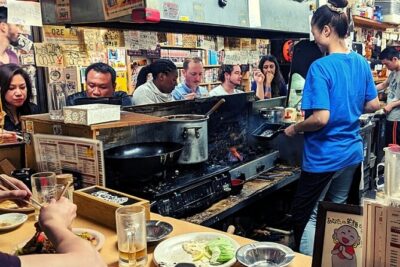 ★ 5.0Finishes lateOsaka Kickstart: Hotspots & Hidden Gems TourFrom $311,306 reviews
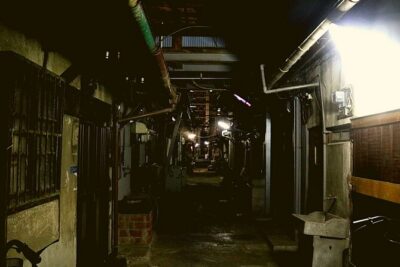 ★ 5.0Small groupDeep Backstreet Osaka Tours (Option to add Dinner)From $531,290 reviews
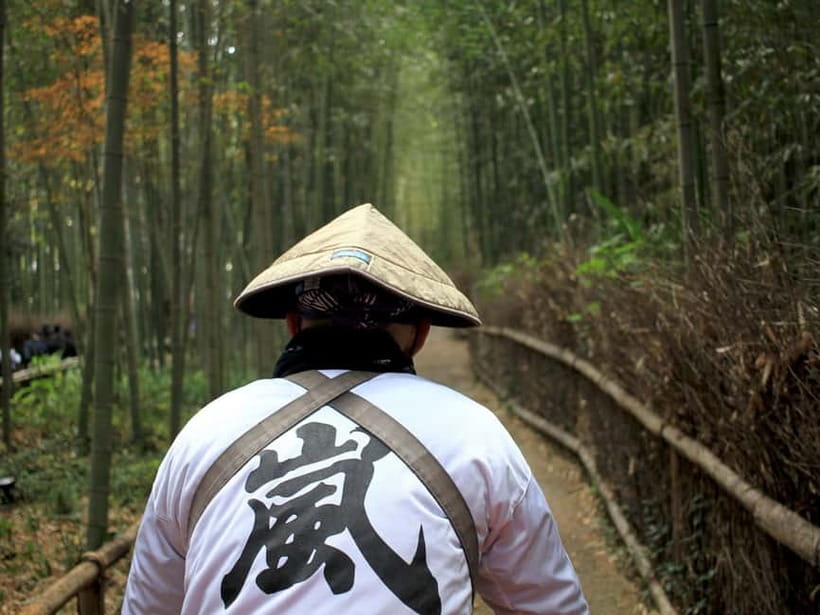
Kyoto is half an hour away.
Osaka makes a better base than people expect. Fushimi Inari before the coaches, Arashiyama bamboo by mid morning, Nara deer after lunch, and you are back on the canal for dinner. Every day trip below starts and ends in Osaka.
How far do you go for the day?
Osaka sits in the middle of everything, which is the problem. Three shapes of day trip, and what each one really costs you in travel time.
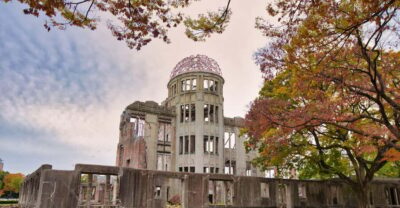 One city, done well
Kyoto only
12 hours · from $277 · 919 traveller reviews
The Golden Pavilion, the tunnel of vermilion gates at Fushimi Inari, Gion at dusk. Sticking to one city means you walk it instead of watching it through a coach window. Best if this is the only day you leave Osaka.
See the Kyoto days →
One city, done well
Kyoto only
12 hours · from $277 · 919 traveller reviews
The Golden Pavilion, the tunnel of vermilion gates at Fushimi Inari, Gion at dusk. Sticking to one city means you walk it instead of watching it through a coach window. Best if this is the only day you leave Osaka.
See the Kyoto days →
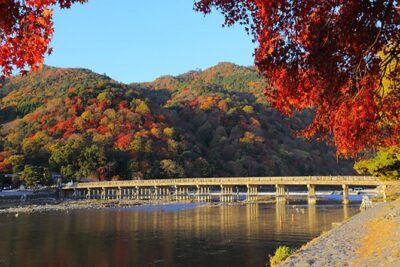 Two stops, one ticket
Kyoto and Nara together
from $90 · 332 traveller reviews
The combined run: Todai-ji and the bowing deer before lunch, then Kyoto for the afternoon. A long day on one bus, with nobody working out train changes at Tennoji. Book it if you have exactly one spare day.
See the Nara runs →
Bullet train out
All the way west
12 hours · from $277 · 919 traveller reviews
Two hours by shinkansen, the Peace Park in the morning, the floating torii on the ferry after. It sounds like too much from Osaka and it is not. The return seat is inside the price on most of these.
See the Hiroshima trips →
Two stops, one ticket
Kyoto and Nara together
from $90 · 332 traveller reviews
The combined run: Todai-ji and the bowing deer before lunch, then Kyoto for the afternoon. A long day on one bus, with nobody working out train changes at Tennoji. Book it if you have exactly one spare day.
See the Nara runs →
Bullet train out
All the way west
12 hours · from $277 · 919 traveller reviews
Two hours by shinkansen, the Peace Park in the morning, the floating torii on the ferry after. It sounds like too much from Osaka and it is not. The return seat is inside the price on most of these.
See the Hiroshima trips →
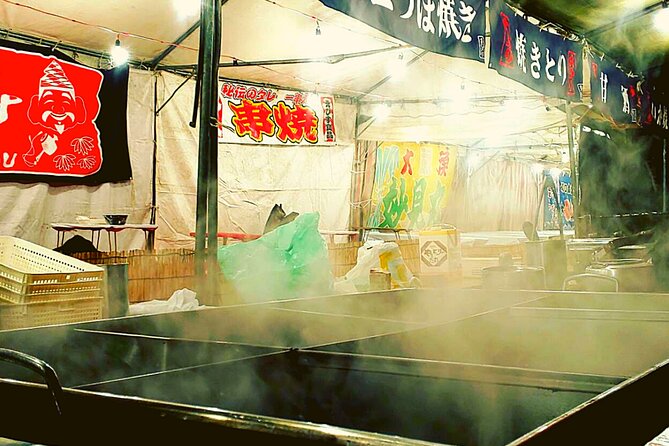
Namba does not close early.
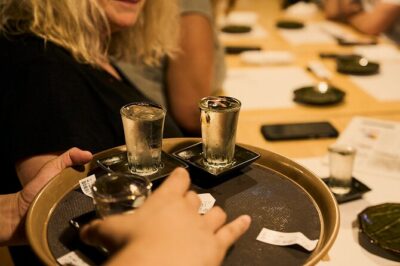
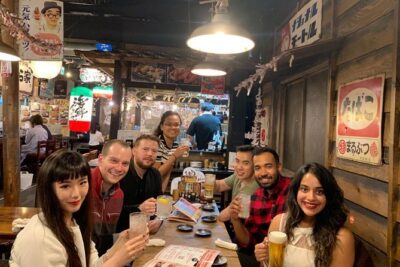
Uranamba counters seat eight and hide behind sliding doors. Hozenji Yokocho is a lane of wet stone and lanterns two minutes off the main drag. Standing bars in Shinsekai pour until the first train. One night with someone who drinks there beats three nights of guessing.
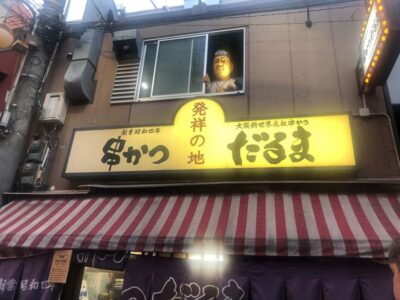
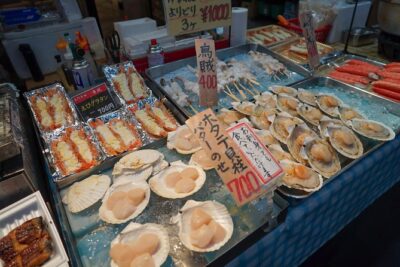
The city eats standing up.
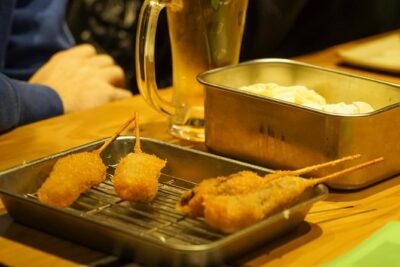
Takoyaki turned with a metal pick. Kushikatsu you dip once and never twice. Okonomiyaki cooked on the plate at your elbow. Three hours of eating will teach you more about Osaka than any viewpoint.
Learn to cook it before you fly home.
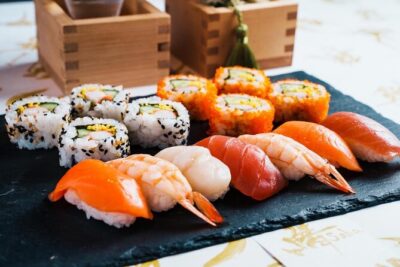
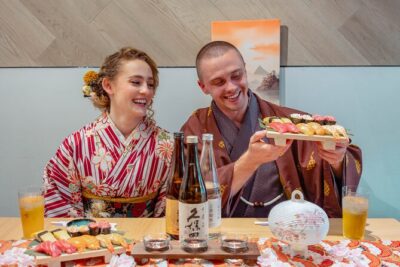
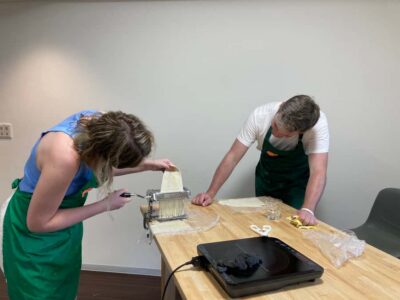
Home kitchens in Chuo and Naniwa that hand over an apron and a hot plate: okonomiyaki folded properly, ramen broth from the pot, nigiri that actually holds. Most run two to three hours and send you out full.
Osaka was a castle town first.
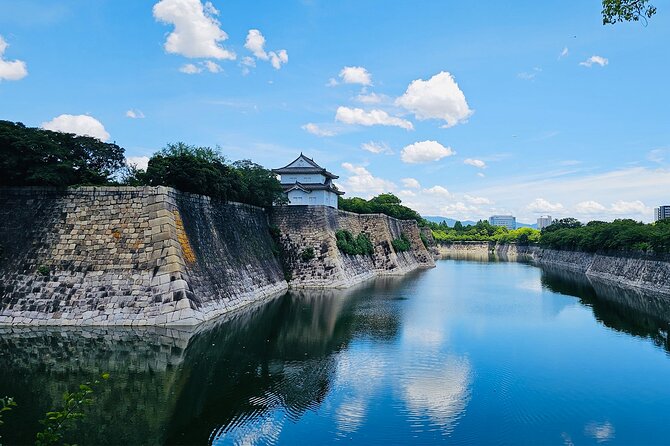
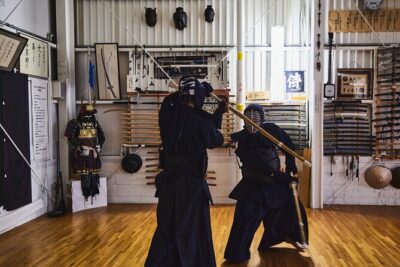
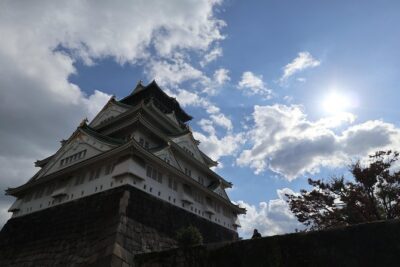
Hideyoshi built the keep, and it still holds the middle of the business district across a moat wide enough to row. Around it: Shitenno-ji, the oldest temple in the country, kendo halls that take visitors for two hours, and tea rooms where the water goes on before you sit down.
Pick your part of Osaka.
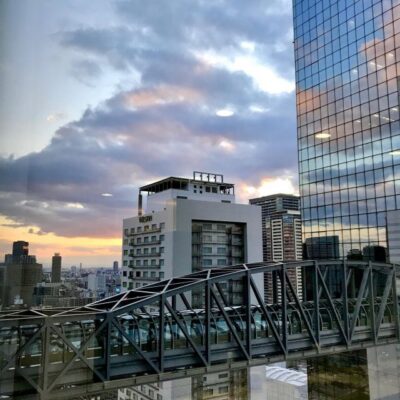
The city splits into pockets and each pocket is an evening. Dotonbori for the signs and the griddles. Shinsekai for kushikatsu under the tower. Kuromon for breakfast off a skewer. Umeda when you want the view instead.
Twelve shapes an Osaka afternoon takes.
Pick the shape of the day first. Everything behind each tile is priced, timed and bookable without a phone call.
Kansai is smaller than the map says.
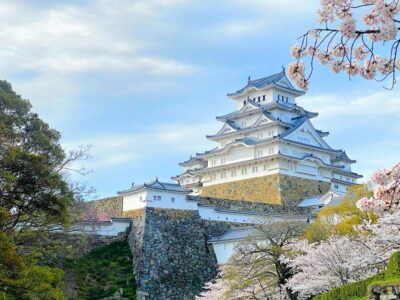
Nara in 45 minutes, Kobe in half an hour, the white keep at Himeji inside ninety. Osaka is the cheapest bed in the region and the easiest place to leave from before breakfast.
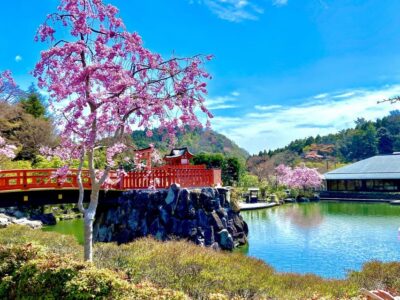
Three days, Osaka-shaped.
You will not see all of Kansai from one hotel, but three days out of Osaka covers more ground than most trips manage in a week, because everything worth reaching is inside two hours.
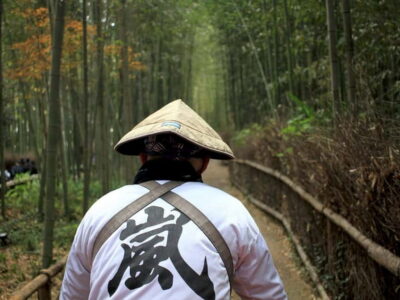 Day 1
Land and eat
Drop the bags, walk the Shinsaibashi arcade down to the canal, then eat your way along Dotonbori until the jet lag gives up. Kuromon in the morning if you wake early.
Plan day one →
Day 1
Land and eat
Drop the bags, walk the Shinsaibashi arcade down to the canal, then eat your way along Dotonbori until the jet lag gives up. Kuromon in the morning if you wake early.
Plan day one →
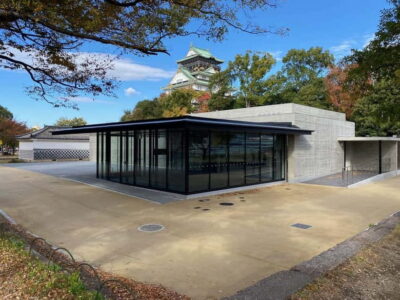 Day 2
Castle, then Shinsekai
The keep before the coach parties, the river at Nakanoshima at lunch, kushikatsu under Tsutenkaku after dark, then a slow crawl back through Uranamba.
Plan day two →
Day 3
Out to Kyoto
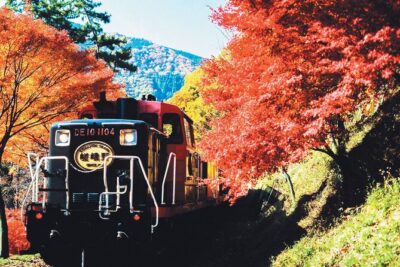
Fushimi Inari at first light while the gates are still empty, Arashiyama bamboo before the coaches, Gion in the evening, and a late bowl of ramen back in Osaka.
Plan day three →
Day 2
Castle, then Shinsekai
The keep before the coach parties, the river at Nakanoshima at lunch, kushikatsu under Tsutenkaku after dark, then a slow crawl back through Uranamba.
Plan day two →
Day 3
Out to Kyoto
Fushimi Inari at first light while the gates are still empty, Arashiyama bamboo before the coaches, Gion in the evening, and a late bowl of ramen back in Osaka.
Plan day three →
Latest Osaka tour reviews.
 ★ 5.0Private Photoshoot in Osaka with a Professional PhotographerFrom $2903 reviews
 ★ 5.0Osaka Private Tour by Public TransportationFrom $1493 reviews
 ★ 5.0Private Full-Day Guided Tour in the City of KobeFrom $2503 reviews
Osaka Sky Vista Double-Decker Open Top Bus TourFrom $243 reviews
★ 5.0Private Full-Day Guided Tour in the City of KobeFrom $2503 reviews
Osaka Sky Vista Double-Decker Open Top Bus TourFrom $243 reviews
 ★ 5.0Exclusive private Yukata dressing workshopFrom $263 reviews
 ★ 5.0Half-Day Private Guided Tour of Himeji CastleFrom $1553 reviews
 ★ 5.0Kimono Rental Photoshoot Experience in OsakaFrom $1293 reviews
 ★ 5.0Osaka Home Feast Cooking and Sake ExperienceFrom $913 reviews