
REVIEW · OSAKA KIMONO & YUKATA DRESSING
Real Kimono experience and Tsumami Kanzashi Workshop
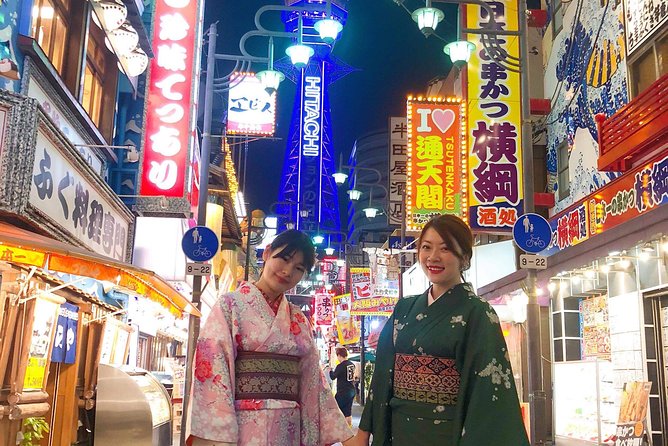
That looks like a photo you can actually use. You’ll make a tsumami-zaiku kanzashi hair accessory, get dressed in a real kimono and obi, then walk the Shinsekai and Tsutenkaku area for pictures. It’s hands-on crafts plus classic costume time, all packed into about two hours.
I especially like that you get step-by-step help while you form the flowers from Chirimen cloth. I also like the way the finished piece becomes part of your look, so the photos feel personal instead of staged. One thing to consider is the timing: you return the kimono within one hour, so the stroll in costume is short and you’ll want to plan your photo stops fast.
Key Highlights at a Glance
- Real tsumami-zaiku you make yourself: a kanzashi hair clip or brooch using Chirimen cloth
- Kimono and obi selection with instructor help: you choose, then you’re dressed
- Tea or coffee during the workshop: a small comfort break mid-creation
- Photo time with your handmade accessory: your craft becomes the prop
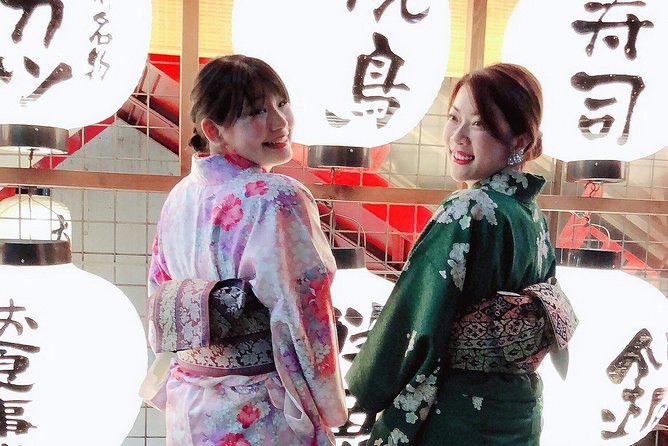
- Stroll in Shinsekai near Tsutenkaku: costume sightseeing close to major landmarks
- Private format: only your group participates
Real Tsumami-Zaiku Kanzashi Plus a Kimono Change, in One Package
If you’ve ever tried to do kimono photos in Japan, you know the usual pattern. You pick a rental, get dressed, snap pictures, and move on. This experience adds a satisfying twist: you create the accessory first, then you wear it with the kimono.
The heart of the workshop is tsumami-zaiku, a traditional technique where tiny fabric folds become flower-like details. In your case, you’ll make a kanzashi hair clip (also described as a brooch) using Japanese Chirimen cloth. Chirimen is that crinkly, crepe-like textured fabric that holds small shapes well. That matters, because the whole look of a kanzashi depends on crisp, layered petal forms.
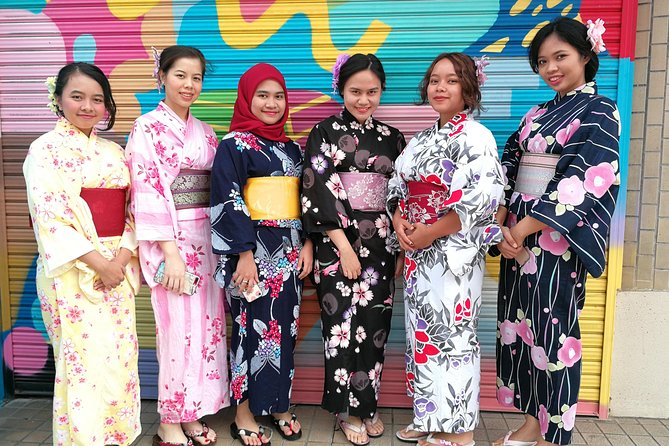
The rest of the value comes from the costume portion. You won’t just browse a costume rack and hope for the best. You’ll choose from a selection of kimono and obi styles, then an instructor will dress you. That makes a huge difference if you’re not familiar with how obi placement changes the look and feel of the outfit.
Is it all perfect? Not for everyone. The overall time is short. The pace is energetic because you’re doing craft, getting dressed, taking photos, and then returning the kimono on a timeline. If you want a slow, long walk or extra sightseeing stops, you’ll feel the clock.
More fittings before the photos
The Two-Hour Flow That Keeps It Fun (Not Exhausting)
The experience is built around a clear sequence, and that structure is what makes it feel smooth. You’ll go from learning to making to wearing without long gaps where you’re waiting around.
Here’s the practical order of events you should expect:
- You’ll start with an explanation of tsumami-zaiku and the basic technique, plus an explanation paper.
- You choose your accessory design elements, including colors and flower style.
- You make the tsumami-zaiku step by step, with help from your instructor while you work.
- Then you choose a kimono and obi from the available selection, and you’re dressed for photos.
- You’ll do photo shooting with your handmade piece.
- After that, you stroll in the Shinsekai and Tsutenkaku area while wearing the kimono, then return the kimono within one hour.
- Finally, you take your finished accessory home as your souvenir.
That one-hour kimono return point is important. You’ll still enjoy the costume walk, but you should treat it like a focused photo walk rather than a full, leisurely neighborhood exploration. If you want to roam deeper into Osaka neighborhoods, you’ll likely need to do that on another day.
Step 1 Learning Tsumami-Zaiku: Small Technique, Big Payoff
Before you pick up materials, you get a quick foundation lesson. You’ll get an explanation paper and a brief walkthrough of the basic technique. This is the part I appreciate most because tsumami-zaiku can look complicated from a distance, but the method is teachable in a short workshop.
You’re not expected to know the folding logic ahead of time. The instructor guides you through the steps during the hands-on portion, which makes the learning curve feel realistic. The workshop is also structured so you can focus on the “petals and layers” idea without getting overwhelmed by every tiny option.
One practical tip for the craft part: commit to your chosen colors early. Changing course halfway is possible, but it’s faster if you lock in your palette when you choose your flower design. When you’re building small fabric pieces, consistency helps the final look come together.
Step 2 Picking Your Colors and Flower Design
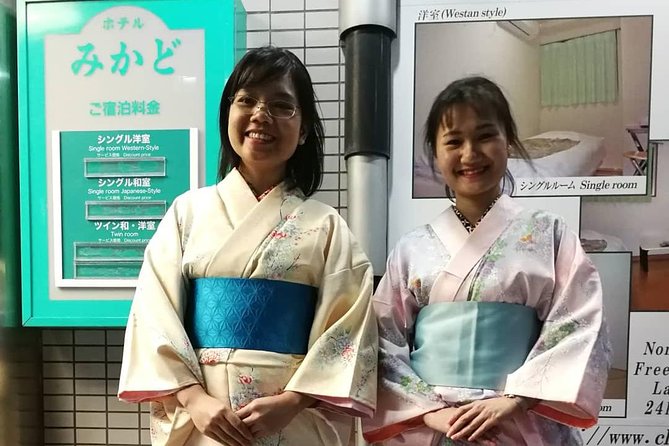
This is where the experience becomes yours. You choose the colors and design for your accessory, and you’re creating the flower elements that will show up in your final kanzashi.
Even if you’re not confident about Japanese craft aesthetics, you can still make good decisions. Think about contrast and balance. Hair accessories get noticed against dark hair and under different lighting, so colors that you like for your outfit will usually work well in the finished piece. If you plan to wear it back home later, choose colors you’ll actually want to see often.
The workshop format gives you structure here: you’re not wandering through an unlimited design menu. You’re making a specific kind of flower-based tsumami piece, so your choices stay meaningful without turning into decision overload.
Step 3 Making the Kanzashi: Step-by-Step Help Makes It Click
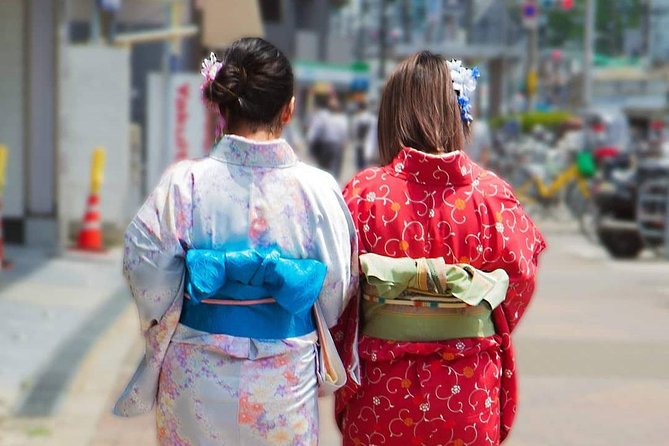
Now you get hands-on. You’ll create your tsumami accessory using Chirimen cloth, and the instructor helps you step by step while you work.
This is the moment where you can feel the value of the “real workshop” approach. Craft experiences can go two ways: either you get a quick demo and then struggle alone, or you get real guidance through the mistakes. Here, the instructor is there during your working time, which makes it more likely you’ll leave with something you genuinely like, not just something you survived.
You’ll also receive tea or coffee during the workshop. It’s not a huge add-on, but it helps keep the energy calm while your hands are busy. That matters because fine craft tasks can feel slow and fiddly. A warm drink takes the edge off.
If you’re traveling with friends, this part is also where the group vibe tends to be positive. People compare color choices, help each other stay steady, and you can end up laughing when you get a fold turned the wrong way. It’s social without feeling forced.
More things to make and take home

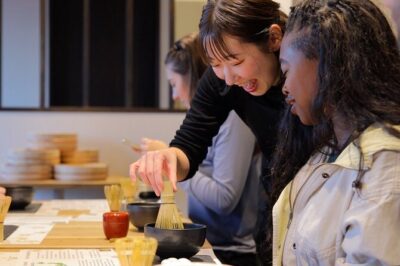

Step 4 Choosing Your Kimono and Obi, Then Getting Dressed
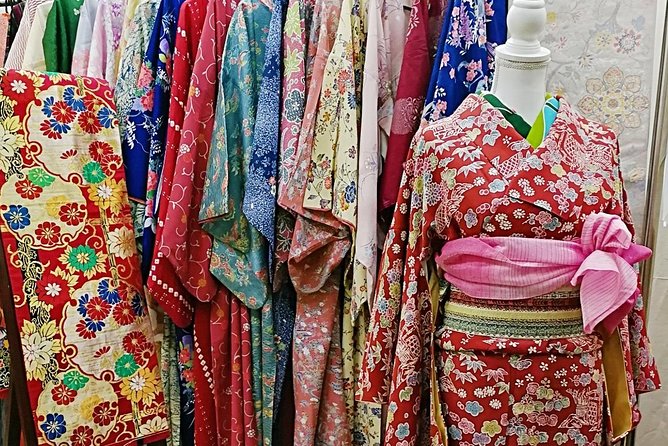
After you finish the accessory, you shift to costume mode. You’ll choose a kimono and obi you like from various types of selection, and then the instructor dresses you.
This part is key for two reasons:
- You get real variety. You’re not limited to one generic design.
- You get real dressing help. Obi style and placement can make or break the look, and dressing yourself can be tricky if you’ve never done it.
From a practical standpoint, think about how you want to look in photos. Your handmade accessory should match the overall color mood of the kimono. It’s smart to select kimono and obi tones with your tsumami colors in mind, so everything looks like a deliberate set.
Also, since you’re doing craft first, you might still be a little warm and hands-on. This is a good time to breathe and let someone else handle the details of the outfit. That’s part of why this experience feels like more than a DIY craft.
Step 5 Photo Shooting With Your Handmade Accessory
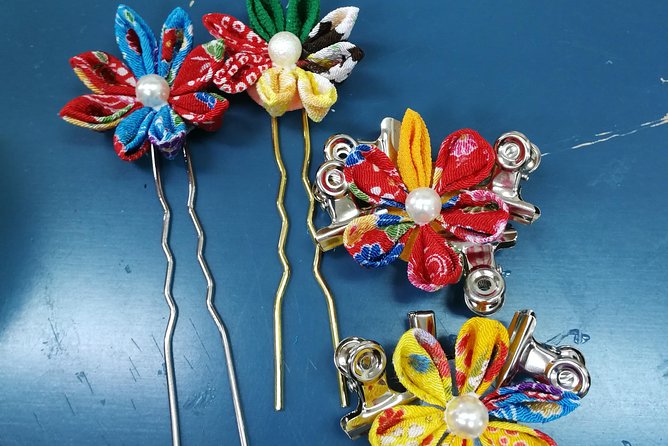
Once you’re dressed, you’ll enjoy photo shooting with the accessory you made. Then you’ll stroll in kimono around the Shinsekai and Tsutenkaku area.
Photo time is usually where rental kimono experiences can feel awkward, because you’re dressed and waiting while someone figures out camera angles. Here, the workshop setup connects the accessory to the photos. Your tsumami-zaiku piece becomes a focal point, so you’re not just posing in fabric. You’re showing off something you created.
If you want better photos, keep the concept simple. Angle the accessory so it’s visible, and think about how it will contrast with hair and kimono sleeve colors. If you’re taking photos yourself or with your group, ask for quick guidance on what works best. Small adjustments can change the whole shot.
Step 6 Wearing It in Shinsekai Near Tsutenkaku
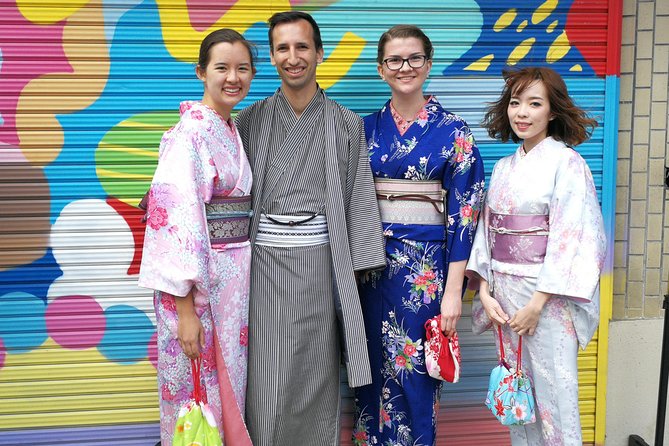
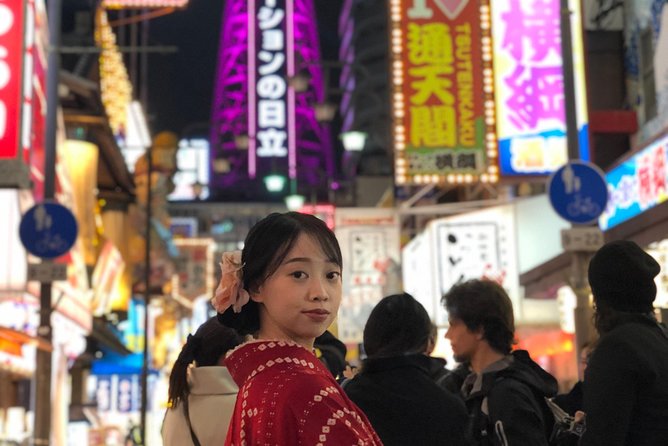
Now comes the fun part: wearing your kimono as you stroll through Shinsekai and the Tsutenkaku tower area. This is a strong choice for two reasons. First, it’s a recognizable neighborhood for photos. Second, it’s close enough that you can enjoy the vibe without losing too much time to travel.
From what you can expect during the costume walk, plan for a short, focused route. You’ll want to hit photo spots quickly, because you must return the kimonos within one hour.
A good strategy is to decide your top two or three photo goals at the start. For example, pick one wide shot with Tsutenkaku in view and one portrait-style shot featuring the accessory in better light. Then fill in the rest with casual walking and street scenes.
Shinsekai is also a great place for people-watching while you’re in costume. You’ll feel more like a character in Osaka than a tourist doing the checklist.
Price and Value: Why $52ish Can Still Feel Worth It
At about $52.03 per person for a roughly two-hour experience, you’re paying for three things at once:
- Instruction and materials for a tsumami-zaiku kanzashi accessory
- Kimono and obi selection plus dressing time
- Photo time plus a short costume walk in a landmark area
Here’s the value logic. A standalone kimono rental photo session is often expensive because you’re paying mainly for dressing and time. A standalone craft workshop can be cheaper, but you lose the payoff of wearing your creation. This combination gives you a “before and after” moment: you craft the accessory, then you present it on your own body.
You also get practical add-ons like tea or coffee, plus the experience is run in a group format with the option of group discounts. You’ll also likely appreciate the mobile ticket for convenience, especially if you’re managing transport and multiple activities in Osaka.
The only downside is again time. If you want a longer kimono day or more walking time, this price point and two-hour duration won’t stretch that far. You’re buying a concentrated, well-supported experience.
Who This Workshop Is Best For
This is the kind of activity that tends to work well for a wide range of travelers because it doesn’t require prior skills. Most travelers can participate, and the instructor helps step by step.
It’s especially good for:
- Couples and friends who want matching memories. One person’s accessory colors can complement another’s.
- Travelers who want a more personal souvenir than a store-bought magnet.
- People who enjoy crafts, even if they’re not “crafty.” The guided steps make it accessible.
- Anyone who wants kimono photos but also wants something meaningful tied to the outfit.
It may not be ideal if you’re expecting a long, slow sightseeing program. The kimono return rule means the costume time is limited, and the workshop itself is designed to finish within a tight window.
Timing, Comfort, and Photo Tips That Save You Stress
Even when an experience is well-run, you can make it smoother with a few smart choices.
- Plan for a quick costume walk
You’ll return the kimono within one hour, so don’t treat the stroll as your full Osaka exploration. Bring your “must-photograph” mindset.
- Choose colors you can live with in different light
Your accessory will show up in photos under different lighting. Pick shades you like both in a workshop setting and in outdoor daylight.
- Keep your phone ready for detail shots
Your tsumami-zaiku piece has texture and layers. Close-up photos make the craft look more impressive than distant shots.
- Wear comfortable shoes during the overall flow
You’ll be walking in a neighborhood while in kimono. You may not control everything, but comfort in footwear helps your confidence during the stroll.
- Go with curiosity, not perfection
The goal is to make something you can show off and wear. If a petal ends up slightly different, that’s still part of the handmade charm.
The Bottom Line: Should You Book This Real Kimono and Kanzashi Workshop?
If you want a real kimono experience with a hands-on craft souvenir, I think this one is a strong choice. The best part is the pairing: your tsumami-zaiku accessory becomes part of your kimono look, and then you get photos plus a walk in the Shinsekai and Tsutenkaku area. You’re leaving with an actual handmade object, not just pictures.
Book it if you like guided experiences, want a memorable Osaka activity that’s not only sightseeing, and you’re okay with a short but satisfying timeline. Skip it if you want a full half-day kimono experience, extra neighborhoods, or a slower pace with more wandering time.
FAQ
How long is the Real Kimono experience and Tsumami Kanzashi Workshop?
The workshop lasts about 2 hours.
What will I make during the workshop?
You’ll make a tsumami-zaiku kanzashi hair clip (brooch) using Japanese Chirimen cloth.
Do I get to choose the design and colors?
Yes. You’ll choose the colors and design for the flower accessory.
Will someone teach me the technique?
Yes. You’ll receive an explanation paper and a brief lecture on the basic technique, and the instructor helps you step by step while you work.
Is tea or coffee included?
Yes. Japanese tea or coffee is served during the workshop.
Do I get dressed in a kimono as part of the experience?
Yes. After making the accessory, you’ll choose a kimono and obi and then be dressed into them.
Will I take photos during the activity?
Yes. You’ll have photo shooting with the accessory you made.
Where do I go while wearing the kimono?
You’ll stroll around the Shinsekai and Tsutenkaku area in the kimono.
Do I keep the accessory I make?
Yes. You’ll take your tsumami accessory home as your souvenir.
Is free cancellation available?
Yes. You can cancel up to 24 hours in advance for a full refund.
Make Something to Take Home






More Tour Reviews in Osaka





Dressed for the Photographs


Latest out of Osaka


Osaka Kimono & Yukata Dressing, side by side.
 ★ 4.5Osaka: Sumo Show & Experience w/ Optional Kimono & Hot PotFrom $77609 reviews
 ★ 4.5Learning Zen of Japanese Calligraphy in kimono near Osaka CastleFrom $4353 reviews
 ★ 5.0Samurai dress-up and shows, plus Tea Ceremony & CalligraphyFrom $12327 reviews
 ★ 4.9Osaka: Kimono or Yukata Rental &Photos Service OptionsFrom $1825 reviews
 ★ 5.0Kimono photoshoot-Includes 100 photo dataFrom $9621 reviews
 ★ 5.0Premium Kimono Dressing, Tea Ceremony, Calligraphy, Samurai showFrom $12318 reviews
 ★ 5.0Japanese miniature kimono made with origami in OsakaFrom $6512 reviews
 ★ 5.0Osaka Kimono Experience – Quick Traditional Dress & PhotosFrom $4711 reviews
Also worth a look in