
REVIEW · PHOTOGRAPHY SESSIONS
Osaka Photography Masterclass – Private Photography Lesson
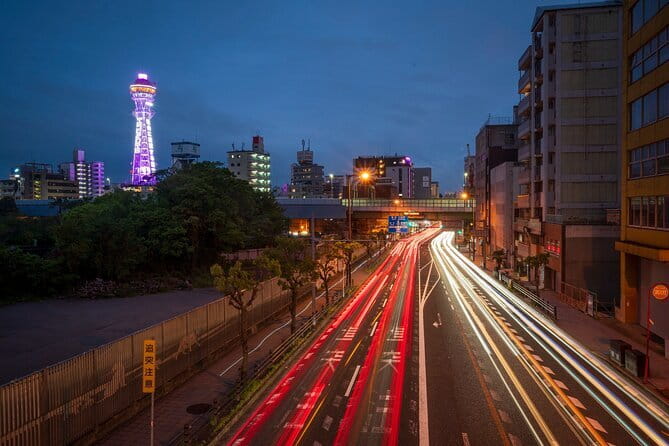
Osaka teaches your camera fast. This private photography masterclass is built around a simple idea, you get guided photo time in the exact places that make Osaka look like Osaka. You will go from Shinsekai and Tsutenkaku Tower to the neon, signage, and water scenes around Dotonbori, with a pro photographer guide coaching your camera settings and composition.
Two things I really like. First, you are not just walking around, you are learning what to look for and why, with instruction tailored to your level by a guide like Irven. Second, the tour can be set up as a Day Tour or a Night Tour, so you practice both daylight street angles and night tricks like motion and long exposures. One possible drawback to think about is that a camera and tripod are not included, so you will want to plan what you will bring, especially for night shooting.
Key takeaways
- Private 3-hour lesson with a professional photographer guide, just your group
- Shinsekai to Dotonbori route, made for angles, signage, and night light
- Practical teaching on camera settings, composition, and how to see photo opportunities
- Day or Night focus, with night sessions geared toward long exposure and motion
- Local knowledge for lesser-known spots and better shooting positions
- Mobile ticket and easy access near public transportation
Osaka in 3 hours: the Day Tour and Night Tour approach
This is a short session by design. In about three hours, you cover two of Osaka’s most photogenic neighborhoods, then you spend that time learning how to get better results without wandering aimlessly.
The Day Tour leans into daytime street photography. You start in Shinsekai, where the mood is nostalgic and photogenic, then move to Dotonbori, known for its iconic signage and busy street scenes. If you like clean compositions, clear lines, and straightforward color, daytime is where you build that foundation.
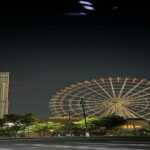
The Night Tour shifts your goal. Instead of just shooting what you see, you practice what night light does to your photos. Dotonbori becomes your classroom for long exposure, capturing movement, and photographing reflections where the city light bounces off water and surfaces.
Just your group: more private options
Shinsekai and Tsutenkaku Tower: where to find your angles
Your route begins in Shinsekai, a great choice because the area gives you strong visual cues. There is a lot of built-in structure for framing shots, from tower views around Tsutenkaku Tower to street-level perspectives that make people and buildings feel layered.
What I like about starting here is that you can warm up quickly. Early on, you can test what you have set on your camera, then get feedback before the neon gets complicated later. For street photography, this matters because small changes to how you frame and how you focus can make a huge difference.
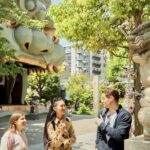
The tour also aims to help you understand what is happening at each stop. One of the best comments from the guide experience is that Irven took the time to explain what was going on at the shooting locations. That kind of context helps you pick a position with intention, like when to wait, where to stand for cleaner backgrounds, and how to aim so your subject does not get swallowed by visual noise.
A small consideration: Shinsekai is busy. If you are still learning camera basics, you may want to keep your expectations realistic for timing and crowd flow. The private format helps though, because the guide can adjust pace to your comfort level.
Dotonbori neon, signage, and canal light: your practice ground
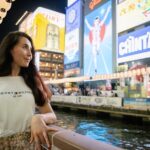
Then you move to Dotonbori, and the tour’s focus turns sharper. This is the part of Osaka where neon signage, bold architectural details, and close-up street scenes give you endless composition options. It is also where you can learn to manage light, because night exposure makes simple mistakes show up fast.
For the Night Tour, Dotonbori is an ideal place to practice motion. You have moving people, cars, and lights, plus surfaces that reflect. The guide’s goal is to help you capture the city’s energy without your photo turning into a blur. Long exposure is the technique here, and you learn how to set up your shot so the light becomes the subject, not the problem.
For the Day Tour, Dotonbori still works because you get a different kind of contrast. Neon is replaced with daylight color and sharper edges, and you can focus on street-level storytelling. In both cases, you get practice building a shot in layers, foreground, mid-ground, and background.
If you want practical value, this stop delivers because it gives you a real reason to change settings. Night requires different exposure thinking than day. That is how learning actually sticks.
What the photographer actually teaches you (not just where to stand)
This masterclass is not only a walking tour with photo stops. The promise is guided instruction on camera settings and composition, and that is exactly what makes it useful if you want your photos to improve after the tour.
You can expect coaching that helps you get more consistent results. The teaching covers how to think through framing and how to use your camera controls with intention. Irven, in particular, was praised for taking time, showing lesser-known photo angles, and explaining what is happening at each location, so you are not just copying someone else’s shot.
You also get value if you are shooting with a phone. One experience highlighted that the techniques and suggestions still applied when the photographer was using an iPhone. That is a big deal because it means the guidance is about seeing and composing, not only about technical gear.
One practical tip: come prepared to understand your camera or phone controls. Another comment stressed that knowing your device makes the session more enjoyable. You do not need to be an expert, but you will learn faster if you can already change key settings or at least navigate your camera app quickly.
How private pacing changes your results
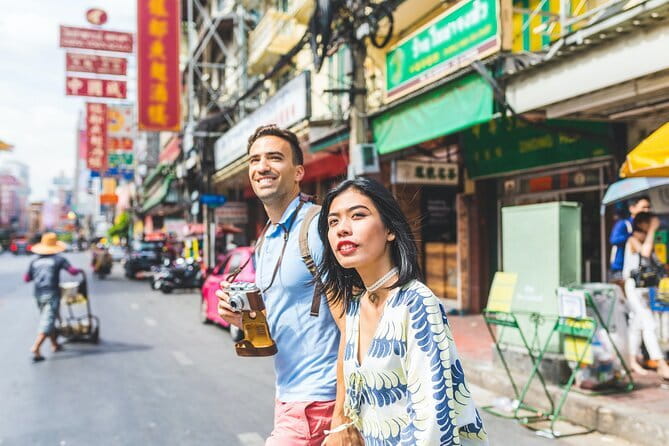
The private format means you are not stuck in the middle of a crowd with a group schedule. You can go at your own pace, and the tour is tailored to your skill level.
In practical terms, this matters for two reasons. First, you get feedback at the moments you need it, like when your framing is off or your exposure looks wrong. Second, the guide can adjust when a location does not cooperate, like if you need a different angle because the crowd shifts or light changes.
It is also a better setup for learning street photography, because you can experiment. You might try a low angle, switch to a tighter crop, or wait for a better moment without worrying about holding up strangers.
One more plus from the experience notes: Irven asked if they could start early, and they extended the session. That suggests the guide is flexible when it makes sense, which is helpful if you want that extra bit of time for practice.
More frames of your trip
Price and value: is $170 per person fair for 3 hours?
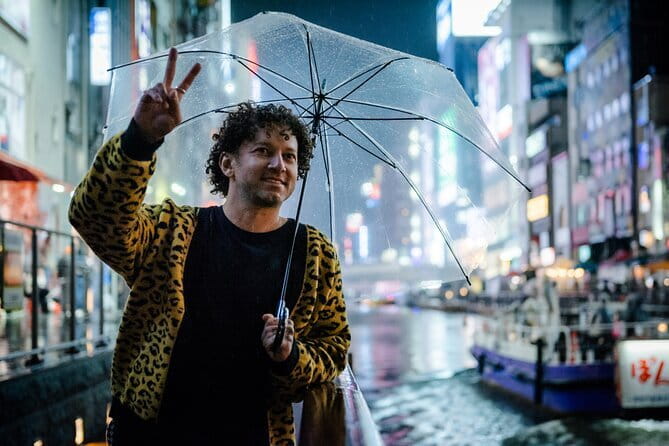
At $170 per person for about three hours, this is not a bargain-basement activity. You are paying for a professional photographer guide plus private instruction in two high-impact Osaka areas.
Here is how I think about value. You are buying two things at once: access to photo-focused teaching and time-efficient location planning. Without guidance, you might spend a lot of time guessing what settings to use, then taking a handful of shots that are not quite right. With this setup, you learn while you shoot, so each location becomes a mini lesson.
Also, the tour is private, which gives you a better learning environment than a general walking group. Even if you feel confident with your camera, you are still likely to benefit from the guide’s local knowledge and how to position yourself for better images.
If you are traveling as a pair or small group, you can feel this value even more because the session is designed for your group only. If you are solo and still learning, it can still be worth it, but you should be ready to engage, ask questions, and practice during the shoot time.
What to bring: camera, tripod, and the night shooting reality
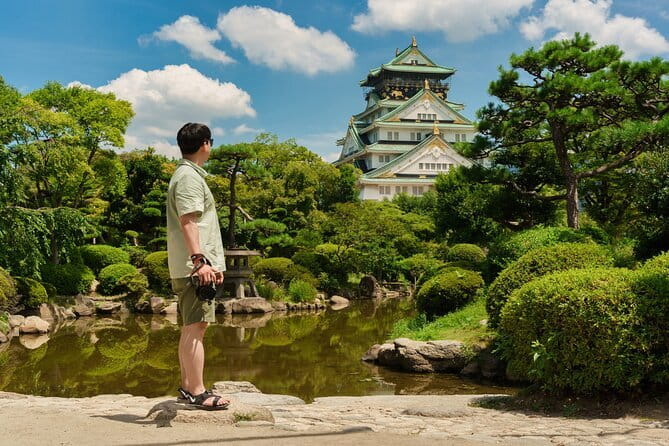
The tour does not include a camera or a tripod. That is not a problem, but it does affect how prepared you should be.
If you have a camera already, great. If you plan to shoot at night, a tripod can help with long exposure, especially if you want sharper light trails and steadier reflections. Since the tripod is not provided, consider bringing your own if you have one, or be ready to work without it.
If you are using a phone, you will still get guidance. You will need to set up your phone quickly, manage focus and exposure, and keep your movement steady during longer shutter time setups if your phone supports it.
My best practical advice is simple: test what you can do before you meet. Know how to switch between basic modes, adjust exposure or similar controls, and set up your framing. Then the guide’s teaching lands faster.
Where you meet in Osaka, and how to keep it easy
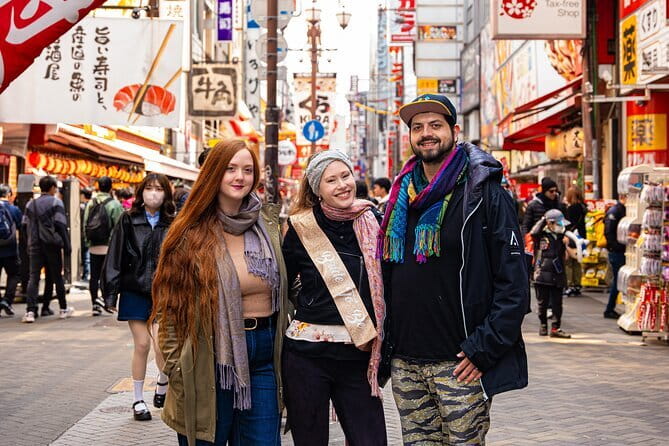
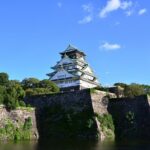
You start at 3-21 Ōsakajō, Chuo Ward, Osaka 540-0002, Japan. The activity ends back at the same meeting point, so you do not have to figure out a separate transfer at the end.
The good news is that it is near public transportation, and the plan includes a mobile ticket. In real life, that means you spend less time hunting and more time shooting.
When a tour is only three hours, every minute counts. Aim to arrive early, then use the first few minutes to get your settings ready before you head to the first shooting area.
Who this Osaka photo masterclass fits best
This experience fits best if you want better photos without spending weeks learning trial and error on your own.
It is ideal for you if:
- You want hands-on instruction on settings and composition, not just tips after the fact
- You plan to photograph both day street scenes and night neon light
- You care about street photography and want help finding strong positions and timing
- You are shooting with a camera or a phone and want technique that transfers
It may be less ideal if:
- You are totally new and want a purely casual walk with zero instruction
- You do not have any device to shoot with, since camera gear is not included
- You hate night photography, because the night format focuses heavily on long exposure style learning
Should you book this Osaka Photography Masterclass with Aperture Tours?
If you want a photo trip that actually improves your results, I think this is a solid booking. The combination of private instruction, a route designed for Shinsekai and Dotonbori, and coaching from a guide like Irven makes the session practical, not just scenic.
Book it if you will show up ready to learn, even if you are not an expert. Read the room, ask questions, and use the practice time well. Bring your camera or phone, and for the Night Tour, seriously consider a tripod if you have one.
Skip it if you only want to wander for fun and you are not interested in learning settings or composition while you shoot. For everyone else, this is one of those experiences where the value is in what you take home mentally, the way you see and frame Osaka from shot to shot.
FAQ
How long is the Osaka Photography Masterclass?
It runs for about 3 hours.
Is this tour private?
Yes. It is a private tour, and only your group participates.
What does the tour include?
It includes a local guide, a professional photographer guide, and the private tour.
What is not included?
A camera and a tripod are not included.
Does the tour happen during the day or at night?
The experience is offered with both a Day Tour and a Night Tour format, each focused on different lighting and photography techniques.
Where is the meeting point?
The start location is 3-21 Ōsakajō, Chuo Ward, Osaka 540-0002, Japan, and it ends back at the meeting point.
Do I need to bring my own camera?
Yes. A camera is not included, but you can still apply the techniques if you are using your own device.
Is it easy to reach by public transportation?
Yes. The meeting area is near public transportation.
What is the cancellation policy?
You can cancel for a full refund up to 24 hours before the experience starts. If you cancel less than 24 hours before, the amount paid is not refunded.
Better Photos of Your Trip
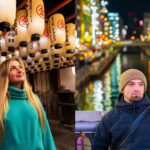
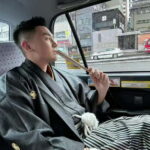
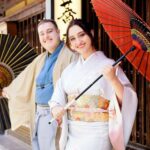
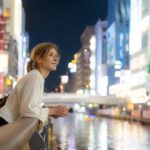
Just Your Group: Private Options
More Tour Reviews in Osaka
Latest out of Osaka


Photography Sessions, side by side.
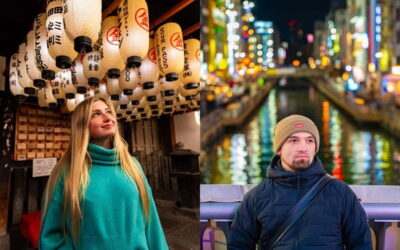 ★ 4.9Osaka: Private Vibrant Nighttime Photoshoot (Dotonbori)From $10980 reviews
 ★ 4.9Osaka: Kimono or Yukata Rental &Photos Service OptionsFrom $1825 reviews
 ★ 5.0Kimono photoshoot-Includes 100 photo dataFrom $9621 reviews
 ★ 4.5Guided Photography Tour in Osaka: Capturing MemoriesFrom $8520 reviews
 ★ 5.0Osaka Dotonbori Night Photoshoot – Private | Pro PhotographerFrom $16419 reviews
 ★ 5.0Private Vibrant Night Photoshoot Experience in Osaka (Dotonbori)From $13015 reviews
 ★ 5.0Osaka Kimono Experience – Quick Traditional Dress & PhotosFrom $4711 reviews
 ★ 5.0Kimono experience and Photo Session in OsakaFrom $1369 reviews
Also worth a look in