
REVIEW · OSAKA AFTER-DARK TOURS
Osaka Night Photography Workshop
Night lights turn a camera into a story. I love the hands-on manual coaching and how the route is built around real street photo moments. The only real drawback to plan for is that you will walk a lot, so comfortable shoes and spare battery matter.
This is a private group workshop in Osaka led in English, designed for both brand-new shooters and experienced photographers who want a guide to smart photo spots. You get step-by-step help with the exposure triangle, composition, and timing, plus a feedback loop so you know what to fix right away.
If you choose the optional light-trails add-on, expect even more practice with long exposures and city illumination. It is a great way to leave with images you can actually use, not just a pile of dark snaps.
Key highlights worth your camera time
- Manual mode coaching that sticks, focused on aperture, ISO, and shutter speed
- A focused Osaka night route, starting in Dotonbori and ending near Tennōji
- Tripod workflow and sharp long exposures, including light trails
- Private pacing and skill-level matching, so beginners do not get lost and pros stay challenged
- Photo review and constructive feedback, so your next shots improve fast
- All cameras welcome, including smartphone users
Why Osaka at night is a smart place to learn
Osaka at night is basically a classroom made of reflections. You have neon signs, wet-looking surfaces, busy storefronts, and tiny pockets of light that change every few steps. That mix is perfect for learning how camera settings control what your eye wants to see.
In a short 3-hour session, the goal is not to photograph everything. The goal is to teach you how to photograph on purpose. When you can control exposure and composition, you can return to Osaka later and keep improving without needing the guide every time.
This kind of night practice also helps you understand timing. Street scenes move. A lantern glow changes. A train light streak appears, then disappears. You learn how to wait, how to shoot, and how to get the shot before the moment is gone.
Later nights in Osaka
Meeting Irven Lewis and getting coached in the way you need
The guide for this workshop is Irven Lewis from Irven Lewis Photography (Irvenlewisphotography.com). The biggest win here is that the coaching is tailored to your level. If you are starting from zero, you get taught camera basics in a way that connects directly to what you are seeing right now.
If you already know exposure fundamentals, you still get value. The route and practice are organized so you can test advanced ideas like framing decisions, long-exposure timing, and how to use light trails without turning everything into blurry mess.
You also get photo review and feedback during the session. That matters more than people think. When someone points out what is holding your image back, you improve faster than by trial and error alone. And if you ask for specific kinds of shots, Irven Lewis has shown he is willing to adjust the plan. That flexibility is one of the reasons this tour feels more personal than a generic photo walk.
Dotonbori first, where reflections teach exposure fast
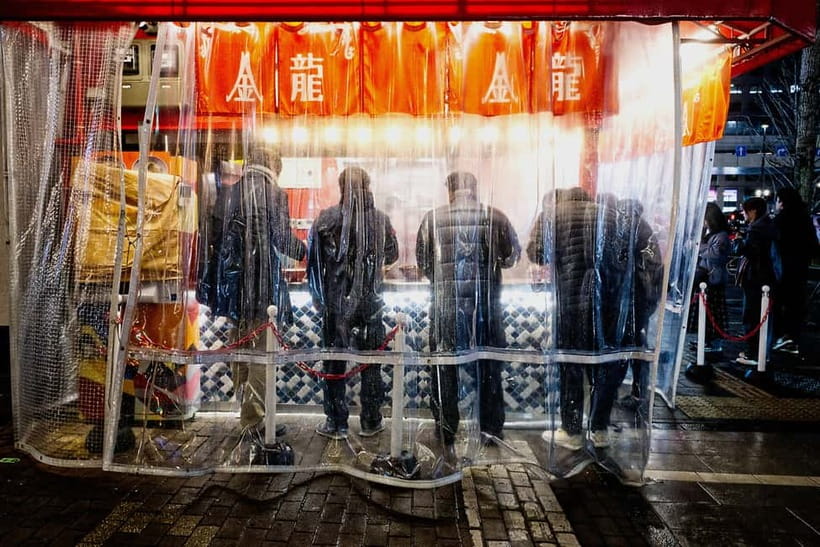
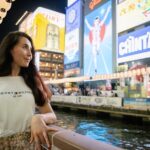
Your journey begins at Dotonbori, one of Osaka’s most recognizable night zones. This is a great first stop because the lighting is bold. You do not have to hunt for subject matter. Signs, crowds, storefronts, and reflections give you instant feedback on your camera settings.
Expect to work through the practical stuff early:
- how your aperture changes depth and sharpness
- how ISO affects brightness and noise
- how shutter speed changes motion blur versus crisp detail
- how composition turns “cool light” into a photo with a point
If you are new, this area helps you get your bearings quickly. If you are experienced, it gives you a high-contrast testing ground. Either way, Dotonbori is where you can learn without feeling like you are guessing in the dark.
One practical note: Dotonbori is also a place where you might shoot a lot. In one case, the tour pace covered so much that a camera battery ran down before the session ended. I’d treat that as your warning. Bring extra power if you have it, and keep your camera settings ready so you are not re-finding them every few shots.
Nipponbashi next, for street scenes and sharper framing
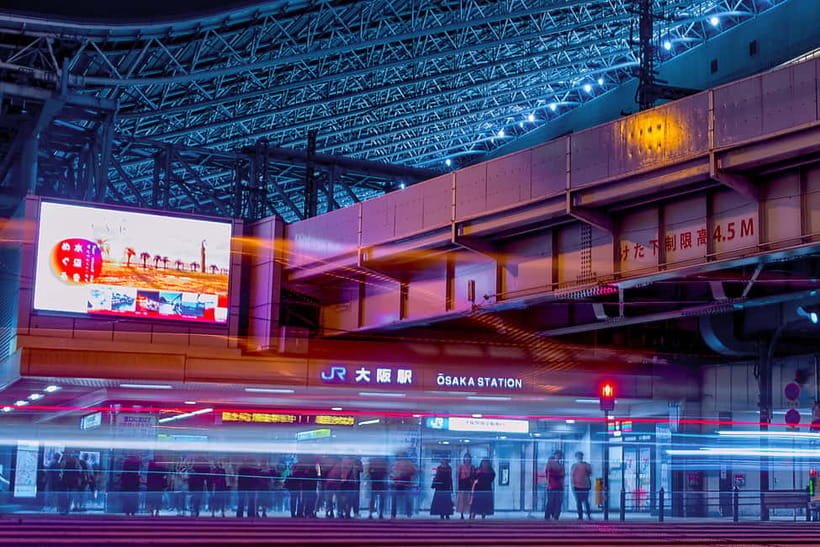
After Dotonbori, you head to Nipponbashi. This stretch is where you start thinking more like a photographer and less like a visitor. The subject matter often has layers: shop signs, silhouettes, people moving through frames, and small details that reward better composition.
This is also where the workshop theme of “manual control” becomes real. Instead of relying on auto mode, you practice choosing settings that match the scene:
- You might slow the shutter to bring out light trails from passing traffic.
- You might adjust ISO to keep neon brightness from overwhelming your highlights.
- You might refine framing so your subject sits cleanly inside the chaos.
The coaching here is useful because you learn why a setting works, not just what to set it to. That makes it easier to repeat the results later in your own travel shooting.
Also, Nipponbashi is a great place for experimenting with timing. You are learning how to anticipate motion, and how to shoot when the scene lines up instead of after the moment is gone.
Shinsekai and the train to Tennōji, when night becomes mood
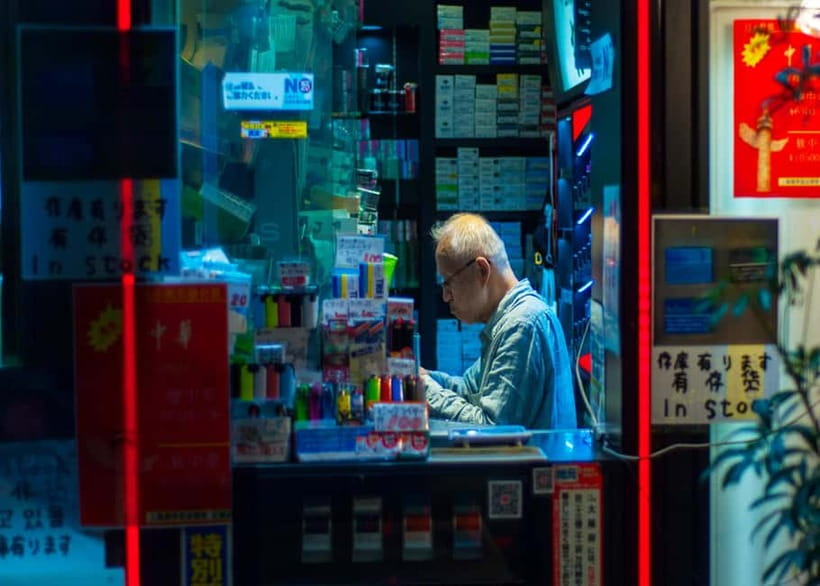
Next comes Shinsekai, known for its older, nostalgic character. Compared to neon-heavy Dotonbori, Shinsekai can feel more story-driven. The light is still strong, but you may find subjects that look like they belong in a film.
This is where you practice composition and light handling as the surroundings change. You will likely keep using manual settings, but you also start thinking about how the photo should feel:
- Do you want a sharp subject with softer background glow?
- Do you want motion to suggest energy?
- Do you want a darker frame that makes the bright signs pop?
Then you catch a train to Tennōji, which adds one more “changing light” moment. A transit stop like this is more than logistics. It’s a break in the pattern that helps your brain recalibrate, so your framing choices stay intentional.
If you choose the optional evening session focused on light trails and illuminated scenes, this is the kind of environment where those techniques make sense. You practice longer exposures and learn how to time the shot so streaks form the way you want rather than turning into random blur.
More frames of your trip
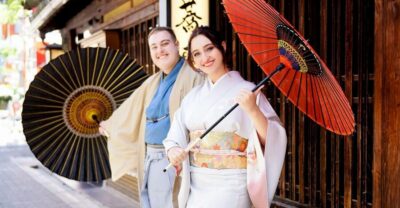
The exposure triangle lessons you can actually use on the street
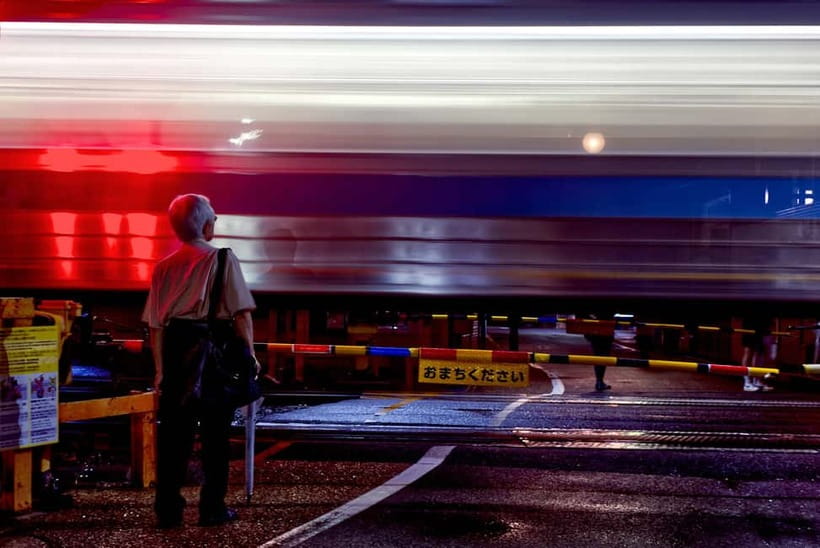
The workshop focuses on the exposure triangle, and the way you learn it matters. You do not just memorize terms. You use them immediately while standing in front of real lighting.
Here’s what you should expect to practice:
- Aperture: how it changes your sharpness and how much of the scene feels in focus
- ISO: how to manage brightness without making your images look grainy
- Shutter speed: how to handle motion, from people walking to light trails from moving sources
The point is control. When you can adjust one setting and predict what it changes, you stop fighting your camera. Instead, you start telling it what you want your image to look like.
This is especially valuable at night, because the scene brightness can swing fast. One sign is bright. The next alley is dim. Auto mode can overreact, and your photo can look inconsistent. With manual control, your images start to feel like a set, not random results.
Composition and framing are included too. That means you practice not only camera settings, but where to place your subject. You learn to use lines, signage, and the edges of frames to guide attention. Good street composition is what turns a snapshot into a photo with story.
Tripod practice and long exposure, without making it painful
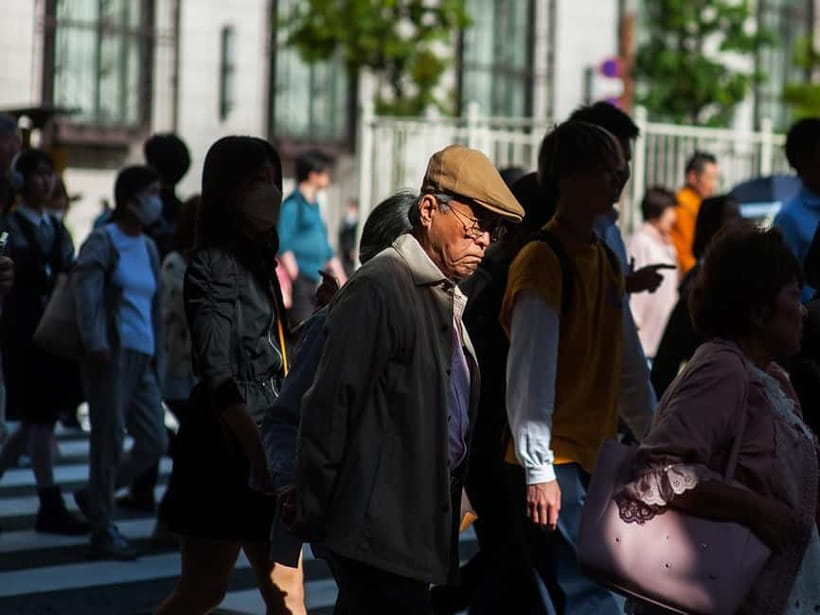
The workshop includes learning to work with a tripod and gain control of manual camera settings for sharp images. Tripod learning is not about being fancy. It’s about stability, which is everything when shutter speeds get longer.
When you practice long exposures at night, you tend to run into common problems:
- camera shake ruins sharpness
- settings are close but not quite right
- you get light trails, but not the shape you were aiming for
Tripod workflow training helps reduce the guesswork. You learn how to set up, how to stay steady, and how to experiment with exposure settings so the final image matches the scene you intended.
Practical tip from how night shooting feels: bring a plan for comfort. If you are carrying a tripod, your arms and shoulders will notice. Wear shoes that support long walking, because the route is active and you will likely stop, shoot, and move again frequently.
Photo review and feedback that makes your next shot better
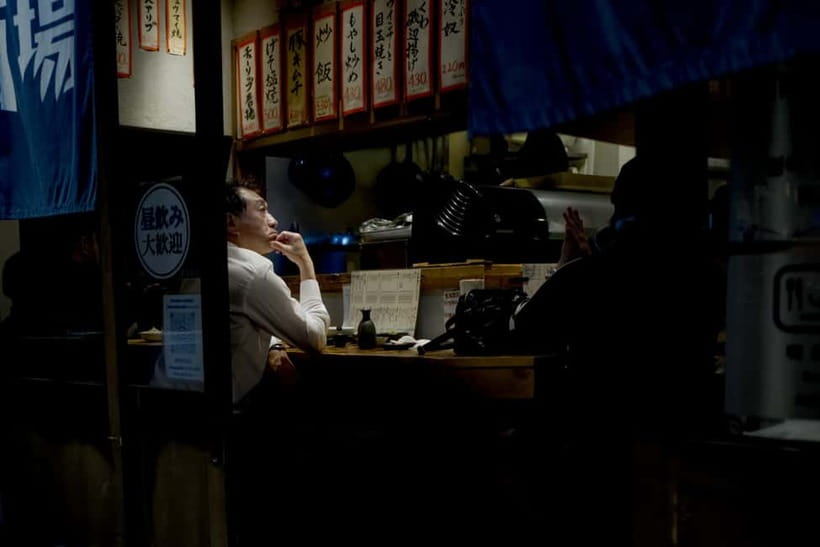
You get photo review and feedback as part of the workshop, and this is where your improvement accelerates. Night photography often has a “sounds right, looks wrong” problem. Maybe your settings looked correct, but the frame is too dark, or the subject is lost in signage.
Having someone help you correct issues quickly is a big value of this tour. You learn what to change, and you can apply it immediately to the next location.
A small but important detail: coaching is geared toward matching your skill level. A beginner gets simple, usable next steps. A more advanced shooter gets deeper prompts that help refine choices like exposure tradeoffs and framing decisions.
This kind of feedback loop is also why this workshop can feel “fast” in a good way. Three hours is not a lifetime. But if you are making corrections along the way, it feels like you gained more than you expected.
Price and value, is $200 for 3 hours actually fair
The price is $200 per person for a 3-hour private evening workshop. That sounds like a lot until you factor in what you are paying for: a live English guide, hands-on instruction, and direct feedback.
For that money, you are not just buying a route. You are buying:
- manual settings coaching with explanation
- tripod-focused practice
- targeted night location stops
- photo review and critique
- flexible pacing so you can stay at your level
It also helps that private group means you are not stuck watching someone else get attention. If you are a new street photographer, a guide can save you hours of frustration. If you are experienced, the value is in learning how someone else approaches Osaka night scenes and making your own images cleaner.
If you love photography but tend to shoot on auto mode, this tour is a strong “upgrade your workflow” option. If you already shoot manual confidently and want zero instruction, you might still enjoy the locations and pacing, but you will get the best value by actively participating in the coaching.
Food is not included, so you’ll want to plan a meal before or after. It helps keep your energy up if the session runs actively through multiple stops.
Cameras welcome, from DSLR and mirrorless to smartphone
The workshop supports DSLR, mirrorless, and smartphone users. That is a practical advantage because night photography is not only for gear owners. The concepts still apply, especially around exposure decisions, timing, and composition.
If you use a smartphone, your workshop value is likely in learning what to look for, how to frame scenes with neon and movement, and how to slow down enough to get the shot before the moment slips.
If you use a camera with manual controls, you will get more chances to practice settings directly. Either way, your coaching is aimed at helping you produce sharp, intentional results rather than just collecting dark pictures.
One more practical consideration: night shooting drains batteries. If you are using a phone, brightness and camera use can eat power. If you are using a camera, long exposures and lots of test shots will do the same. Bring extra batteries or a power bank if you can.
Who this Osaka night workshop suits best
This is a good fit for two groups:
1) Absolute beginners who want camera basics and a structured way to learn manual settings while seeing immediate results
2) Professionals who want a guide to show strong photo spots and keep practice moving
It also works well for anyone who wants to improve street photography pacing. Street scenes change quickly. You learn how to move with purpose, not just wander.
From the experience with Irven Lewis, it is also a solid option if you have specific shot goals. When someone asks for spots the guide does not usually take clients to, Irven has been game to adjust. If you care about a certain look, subject, or photographic style, tell him early and ask if it fits the route.
Should you book this Osaka night photography workshop?
Book it if you want more than a casual stroll. You’ll get hands-on manual coaching, tripod and light-trail practice, and a real feedback loop in a short 3 hours. The Osaka route is structured around places where night lighting gives you instant learning cues, especially at Dotonbori and around Shinsekai and Tennōji.
Pass or rethink if you hate walking at night or you want a slow, low-effort outing. This workshop is active, and it’s better suited to people who can handle multiple photo stops with short adjustments.
If you are unsure, here is a simple decision rule: if you want to learn how to control night exposure and leave with usable photos, this is a strong value. If you only want scenic photos with minimal instruction, you might be happier booking your own evening route and shooting independently.
FAQ
How long is the Osaka night photography workshop?
It lasts 3 hours.
How much does the workshop cost?
It is $200 per person.
What language is the tour guide?
The live tour guide speaks English.
Where does the photo tour start and what areas are included?
The journey starts at Dotonbori, then goes to Nipponbashi, then Shinsekai, and finishes near Tennōji after catching a train.
Is this workshop only for advanced photographers?
No. It is designed for absolute beginners who want camera basics and for professionals who want a guide to great photo spots and better results.
What camera types are supported?
It supports DSLR, mirrorless, and smartphone users.
Does the workshop teach manual settings and exposure concepts?
Yes. It covers working in manual mode, exposure triangle concepts (aperture, ISO, shutter speed), plus composition, framing, and timing.
Is a tripod involved?
You’ll learn to work with a tripod as part of getting sharp results in lower light.
Is food included?
No, food is not included.
Can I choose an extra light-trails session?
There is an optional evening session for light trails and illuminated scenes if you choose it.
Better Photos of Your Trip
More Tour Reviews in Osaka
After the Last Train


Latest out of Osaka


Osaka After-Dark Tours, side by side.
 ★ 5.0Osaka Bar Hopping Night Walking Tour in Namba (3 bars, 6 tastes)From $98958 reviews
 ★ 5.0Osaka Nighttime tourFrom $198270 reviews
 ★ 4.5Osaka After Dark: Small-Group Night Food Tour (Max 6)From $116245 reviews
 ★ 5.0Osaka: 2-Hour Nightlife District Walking & Local Food CultureFrom $31199 reviews
 ★ 4.8OSAKA NIGHT FUSION Japanese Taiko Kabuki Samurai Dance ShowFrom $40155 reviews
 ★ 5.03Hour Osaka Pub Crawl Bar Hopping Nightlife Guided Tour in NambaFrom $46122 reviews
 ★ 4.7Osaka: Bar-Hopping Night Tour in NambaFrom $112117 reviews
 ★ 4.9Osaka: Dark Side of Osaka Night Walking TourFrom $2589 reviews
Also worth a look in